The persistent chill in your older home isn’t a sign of a failing furnace, but of a poorly performing building envelope that lets invisible forces like air pressure and radiant heat dictate your comfort.
- True comfort depends on controlling air leakage (the stack effect) and managing cold surfaces (mean radiant temperature), not just raising the thermostat.
- A systematic, phased approach to sealing and insulation provides the highest return on investment, often delaying the need for expensive HVAC replacement.
Recommendation: Begin by diagnosing your home’s specific air leakage pathways and heat loss zones before investing in any single solution.
If you own an older home, you know the feeling: the thermostat reads a comfortable 72°F (22°C), yet you’re reaching for a sweater. You feel persistent drafts, notice some rooms are inexplicably colder than others, and your energy bills seem to climb higher each winter. The common advice is to crank up the heat, invest in a costly new HVAC system, or replace your beautiful, historic windows. These solutions often provide temporary relief at a significant financial and environmental cost, but they fail to address the root of the problem.
The issue isn’t just about generating more heat; it’s about how your home holds onto it. Older properties were built differently, with materials and methods that create unique thermal challenges. But what if the key to lasting comfort wasn’t brute force heating, but a smarter understanding of building science? This guide moves beyond the obvious fixes to explore the invisible dynamics at play in your home. We’ll focus on how to diagnose and manage your entire building envelope as a system, controlling the forces of air movement, radiant heat loss, and moisture that are the real culprits behind your discomfort.
By learning to see your home through the lens of an energy consultant, you can implement targeted, cost-effective strategies that work with your home’s character, not against it. This approach will not only make you more comfortable but also significantly reduce your energy consumption and preserve the historic integrity of your property.
This article provides a comprehensive roadmap to transforming your older home into a comfortable, efficient sanctuary. We will explore the science behind why it feels cold, provide practical step-by-step guides for improvements, and compare the best materials for the job, all without requiring a complete overhaul of your heating system.
Summary: A Systemic Approach to Warming Your Older Home
- Why Your Home Feels Cold Even When the Heating Is Set to 72°F?
- How to Weatherstrip Windows and Doors Like a Pro in One Weekend?
- Spray Foam vs Fiberglass: Which Insulation Offers Better R-Value per Inch?
- The Ventilation Mistake That Turns a Well-Insulated Home into a Mold Trap
- When to Adjust Your Thermostat: The Schedule That Saves 15% on Energy?
- When to Update Firmware: The Maintenance Schedule for a Glitch-Free Home
- How to Diagnose and Fix Small Appliances Before Buying New?
- Choosing Sustainable Materials: Which Flooring Options Offer the Best Durability for High-Traffic Areas?
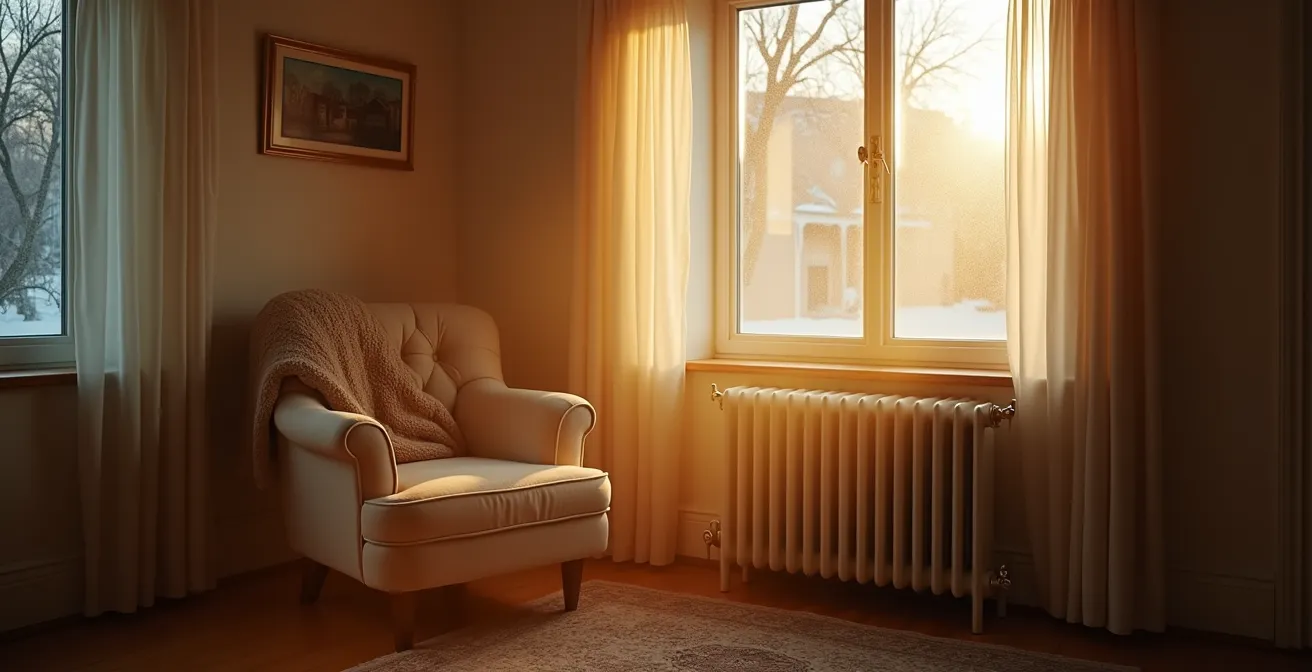
Why Your Home Feels Cold Even When the Heating Is Set to 72°F?
The number on your thermostat only tells part of the story. It measures the air temperature, but your body experiences a combination of air temperature and the temperature of the surfaces around you. This is known as the operative temperature. In an older home with uninsulated walls, single-pane windows, and drafty floors, these surfaces are significantly colder than the air. Your body radiates heat towards these cold surfaces, making you feel chilled even if the air is technically warm. This phenomenon is driven by what building scientists call Mean Radiant Temperature (MRT).
In fact, research shows that in under-insulated buildings, a low MRT can make you feel cold despite a high thermostat setting. Conversely, high mean radiant temperature can push operative temperature over 90°F (32°C) even with the thermostat at 75°F (24°C) in summer. Another major culprit is the stack effect. This is the natural movement of air in a building where warm air rises and escapes through the upper levels (attic, high windows), creating negative pressure that pulls cold, dense air in through the lower levels (basement, foundation, low windows). This creates a constant, slow-moving river of cold air across your floors, which is why your feet are often the first to feel cold.
Diagnosing the stack effect is the first step to taming it. You can perform a simple diagnostic at home to see how significant this effect is. Pay close attention to air movement near stairwells and doors on the lowest and highest floors, as these are the primary channels for this vertical airflow. Sealing these pathways is often more effective than simply adding more heat.
How to Weatherstrip Windows and Doors Like a Pro in One Weekend?
Air sealing is your first and most cost-effective line of defense. A significant portion of heat loss in older homes occurs through gaps around windows and doors. Weatherstripping is a DIY-friendly project that can yield immediate results in both comfort and energy savings. Unlike expensive window replacements, it preserves the original character of your home, a crucial factor for historic properties. The key is to choose the right material for the right gap and to install it meticulously.
For vintage double-hung windows, V-strip (also known as tension seal) made of bronze or vinyl is an excellent, durable choice. It fits into the window channels and compresses to form a tight seal when the sash is closed. For door frames, adhesive-backed foam tape is easy to install, though less durable. For the bottom of a door, a door sweep is essential to block drafts at the floor level. The goal is to create a continuous seal around all moving parts.
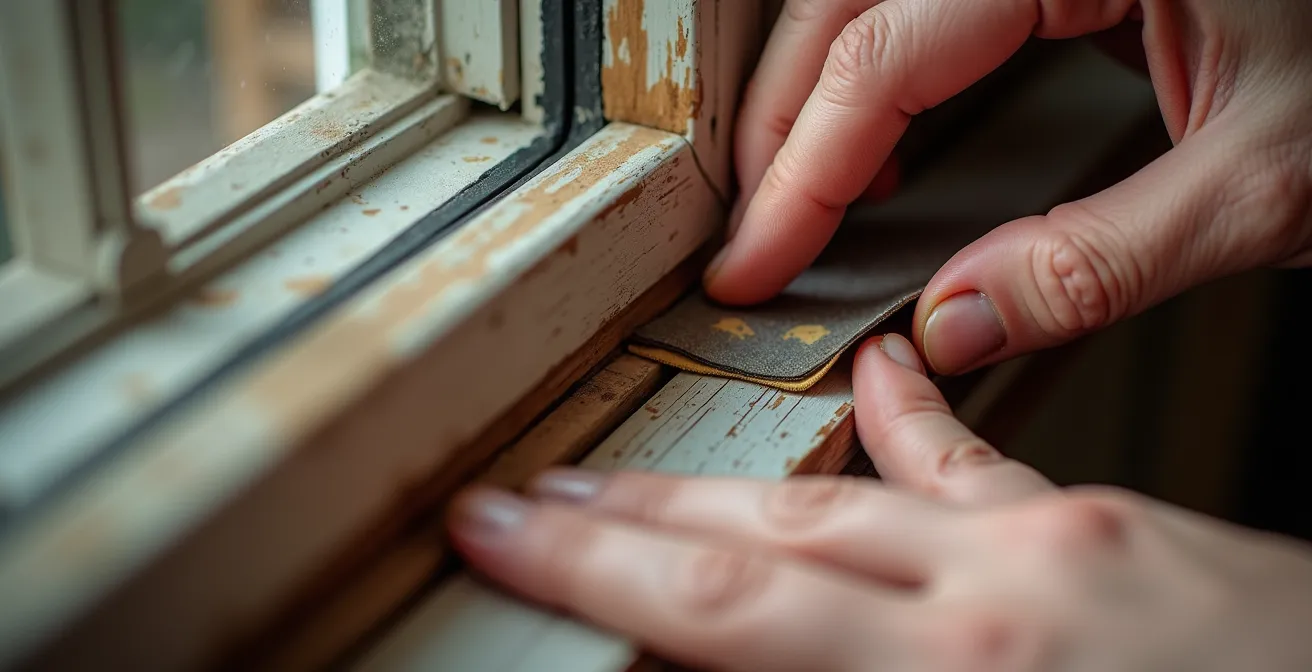
As the case of Kevin O’Connor from “This Old House” demonstrates, the results can be dramatic. By weatherstripping his 1894 home’s original windows, he achieved leak-free performance comparable to new units for a fraction of the cost. He notes, “The wind is blowing outside, but the drafts are gone,” proving that with a little effort, you can make historic windows perform like modern ones. This preserves the home’s aesthetic while delivering 21st-century efficiency.
Before you begin, you need to select the right materials for your specific needs. The following table provides a guide based on information from the Department of Energy, helping you match the best material to each type of gap in your home. This ensures a durable and effective seal.
| Gap Type | Best Material | Durability | Cost |
|---|---|---|---|
| Double-hung windows | V-strip/tension seal | 10+ years | Moderate |
| Door frames | Foam tape | 2-5 years | Low |
| Non-operable gaps | Rope caulk | 5-10 years | Low |
| Door bottoms | Door sweep | 5-7 years | Moderate |
Spray Foam vs Fiberglass: Which Insulation Offers Better R-Value per Inch?
Once you’ve sealed the air leaks, insulation is the next critical step. Insulation works by resisting the flow of heat, and its effectiveness is measured in R-value. The higher the R-value, the better the insulation. When comparing options for an older home, where space in wall cavities and attics can be limited, the R-value per inch is a critical metric. Closed-cell spray foam insulation typically offers the highest R-value, ranging from R-6 to R-7 per inch. This makes it an excellent choice for tight spaces. It also acts as an air barrier and a vapor retarder, addressing air leaks and moisture control in one step. Fiberglass batts, a more traditional and less expensive option, provide around R-3 to R-4 per inch.
While spray foam has superior performance per inch, it comes at a higher cost and requires professional installation. Fiberglass is more DIY-friendly and budget-conscious. Blown-in cellulose (R-3.5 per inch) offers a good middle ground, as it can be densely packed into existing wall cavities through small holes, conforming to irregularities and providing good air sealing. The best choice depends on your budget, the area being insulated, and your project goals. For example, using high-R-value spray foam in the rim joists of your basement can provide a massive return, while using more affordable fiberglass in an open attic can be a cost-effective way to boost overall R-value.
It’s important to remember that insulation and your HVAC system are two parts of the same system. A super-insulated house with an old, inefficient furnace is still wasting energy. While this guide focuses on non-HVAC solutions, it’s worth noting the potential gains from future upgrades. For instance, modern condensing boilers can reach efficiency levels of up to 98.5%, a stark contrast to the 56-70% efficiency of older models. A phased approach allows you to first maximize your home’s envelope, then consider an appropriately sized, high-efficiency heating system later.
Your High-ROI Phased Insulation Plan
- Attic Floor First: Begin with the attic floor. This area is responsible for the most significant heat loss (as heat rises) and is typically the easiest and cheapest to access for a DIY project.
- Basement Rim Joists: Seal and insulate the rim joists (the wooden perimeter at the top of your foundation walls). This is a major source of cold air infiltration and can be done effectively with rigid foam board or spray foam kits.
- Existing Walls: For walls with empty cavities, consider professional installation of blown-in cellulose or foam. This method is minimally invasive and highly effective at stopping drafts and heat loss through walls.
- Crawl Spaces: If you have a crawl space, ensure it has a proper vapor barrier on the ground and that the walls are insulated. This prevents both heat loss and moisture problems.
- Windows as a Final Touch: After addressing the major surfaces, consider lower-cost window improvements like installing storm windows or applying insulating window film to further reduce radiant heat loss.
The Ventilation Mistake That Turns a Well-Insulated Home into a Mold Trap
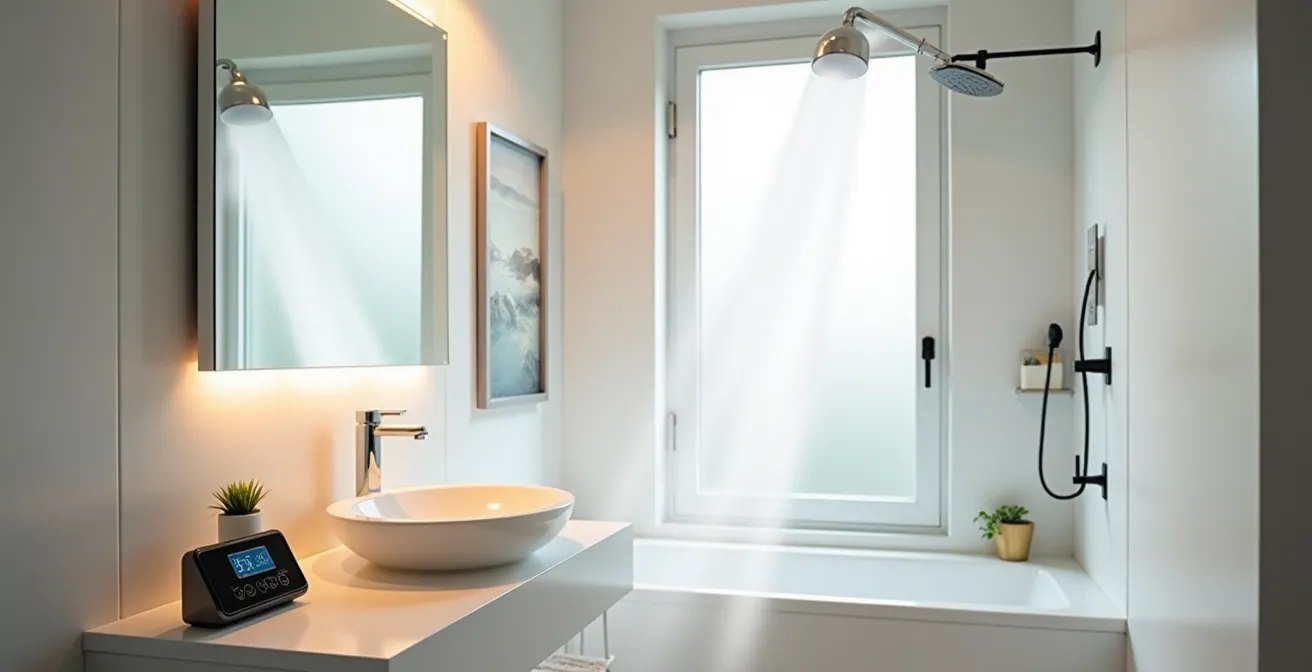
As you begin to tighten your home’s building envelope, you are fundamentally changing how it “breathes.” Older, drafty houses had a high rate of natural air exchange, which, while inefficient, constantly purged moisture-laden indoor air. As you seal air leaks and add insulation, you trap that moisture inside. Without a strategy for mechanical ventilation, you can inadvertently create the perfect environment for mold and mildew, particularly in high-humidity areas like bathrooms and kitchens. This is the single biggest mistake homeowners make after improving insulation.
The key is to control moisture at its source. This means having properly sized and functioning exhaust fans in all bathrooms and over your stove. These aren’t just for odors; their primary job is moisture removal. A bathroom fan should be run for at least 20-30 minutes after every shower to ensure all the humid air is vented directly outside—not into your attic, which is a common and disastrous installation error. To prevent mold, your home’s indoor relative humidity should ideally be kept between 30-50% in the winter. A simple digital hygrometer can help you monitor these levels.
As your house becomes tighter, you reduce its natural Air Changes per Hour (ACH), a measure of how frequently the entire volume of air in your home is replaced. While a low ACH is great for energy efficiency, a level that is too low can lead to poor indoor air quality and moisture buildup. In a very tight home, a balanced ventilation system like a Heat Recovery Ventilator (HRV) or Energy Recovery Ventilator (ERV) may be necessary. These systems continuously exchange stale, humid indoor air with fresh outdoor air while recovering most of the heat, giving you the best of both worlds: efficiency and a healthy living environment.
When to Adjust Your Thermostat: The Schedule That Saves 15% on Energy?
The advice to “turn down your thermostat when you’re away or asleep” is sound, and a programmable thermostat can automate this to save up to 15% on your heating bills. However, in an older home with significant thermal mass, you can employ an even more sophisticated strategy. Thermal mass refers to the ability of materials like plaster, brick, and stone to absorb, store, and slowly release heat. Unlike modern homes with lightweight drywall, the heavy materials in your older house can act as a thermal battery.
Instead of letting the house get cold and then forcing the furnace to work hard to heat it back up, you can work *with* your home’s thermal mass. This involves pre-heating the house during off-peak utility hours (if applicable), allowing the walls and floors to absorb that heat. Then, as outside temperatures drop or you enter peak-rate periods, you can lower the thermostat and let the stored heat from the plaster and brick radiate slowly back into the living space, maintaining a comfortable temperature for hours. This passive approach smooths out temperature swings and reduces the runtime of your active heating system.
The University of Arizona’s Jonathan Bean has conducted research highlighting this exact principle. His work shows that by leveraging the inherent thermal mass of older construction, homeowners can maintain comfort with less active heating. This strategy is particularly effective in homes with thick plaster walls, double-brick construction, or exposed masonry. It requires a shift in thinking: you are no longer just heating the air; you are charging the structure of your home with thermal energy.
Case Study: Leveraging Thermal Mass in a Historic Home
Research by Jonathan Bean at the University of Arizona shows that older homes with plaster walls and brick have significant thermal mass that can be leveraged for energy savings. By pre-heating these materials before peak utility rates and allowing them to radiate heat slowly, homeowners can maintain comfort while reducing active heating needs. This passive approach works particularly well in homes with thick walls or masonry construction, turning a perceived disadvantage into an energy-saving asset.
When to Update Firmware: The Maintenance Schedule for a Glitch-Free Home
In the context of home thermal comfort, “firmware” extends beyond your computer to the smart devices that help manage your environment. Your smart thermostat, remote temperature sensors, and home energy monitors all run on software that manufacturers periodically update. Keeping this firmware current is a critical, yet often overlooked, maintenance task for ensuring a glitch-free, thermally efficient home. These updates often do more than just patch security flaws; they can improve the device’s learning algorithms, enhance its efficiency, and unlock new energy-saving features.
For example, a firmware update for a smart thermostat might refine how it learns your schedule or how it communicates with remote sensors. This could result in more accurate temperature readings and less “ghost” heating of unoccupied rooms. An update might also improve its ability to leverage strategies like pre-heating based on thermal mass, making it a more effective partner in your overall energy strategy. A “glitch” in this system isn’t just an annoyance; it can be a source of significant energy waste, such as a thermostat that fails to enter its “away” mode.
A simple maintenance schedule is all that is required. Most modern smart devices will notify you when an update is available or will even update automatically. However, it’s good practice to check for updates manually on a quarterly basis through the device’s app or web portal. This ensures you’re always benefiting from the latest performance improvements. Think of it as a tune-up for your home’s brain, ensuring it’s operating with the most efficient logic possible to control the physical improvements you’ve made to your building envelope.
How to Diagnose and Fix Small Appliances Before Buying New?
When battling discomfort in an older home, it’s easy to accumulate an army of “small appliances” as band-aid solutions: a space heater for the drafty office, a dehumidifier for the damp basement, a noisy window AC unit for the one hot bedroom. Before buying new or more powerful ones, it’s crucial to diagnose their role in your home’s overall system. Often, the heavy reliance on these devices is a symptom of a larger problem with the building envelope. A space heater running constantly isn’t a solution; it’s a diagnostic tool telling you precisely where heat loss is most severe.
Instead of simply replacing a struggling dehumidifier, ask why the basement is so damp. Is it a lack of a vapor barrier? Leaks in the foundation? Poor ventilation? Fixing the root cause may eliminate the need for the appliance altogether. Likewise, that electric space heater costing you a fortune to run is pointing to an uninsulated wall or a major air leak. Your first “fix” should be to address that envelope issue with insulation or air sealing. Only then can the small appliance be used as an effective, occasional supplement rather than a primary heat source.
When you do need these appliances, ensure they are working efficiently. Clean the filters on your space heaters and window AC units regularly. For dehumidifiers, check that the coils are free of dust and that it’s set to an appropriate humidity level (e.g., 50%) rather than running continuously. Fixing or optimizing these small appliances, and more importantly, understanding the problem they are trying to solve, is a far more sustainable and cost-effective strategy than simply buying a new, more powerful model to fight a losing battle against a leaky building envelope.
Key takeaways
- Your feeling of cold is often caused by radiant heat loss to cold surfaces (low MRT), not just low air temperature.
- A systematic approach of air sealing first, then insulating, offers the best return on investment for comfort and energy savings.
- Tightening your home requires a ventilation strategy to control moisture and prevent mold, turning your house into a healthy, efficient system.
Choosing Sustainable Materials: Which Flooring Options Offer the Best Durability for High-Traffic Areas?
Flooring is rarely considered a key player in thermal comfort, but in an older home, it can have a significant impact. Your choice of material affects not only durability and aesthetics but also how warm the floor feels to the touch and its ability to stop drafts from a basement or crawlspace. From a sustainability perspective, choosing durable, long-lasting materials that also contribute to your home’s energy efficiency is a clear win.
For high-traffic areas, materials like solid hardwood, cork, and linoleum (not vinyl) are excellent sustainable choices. Cork, in particular, is a thermal superstar. It is composed of millions of tiny air cells, giving it a naturally high R-value for a flooring material. It feels warm underfoot because it has low thermal effusivity—meaning it doesn’t pull heat away from your body quickly like tile or stone does. It’s also durable, water-resistant, and made from a renewable resource (the bark of the cork oak tree, which is not cut down). Hardwood is also a good insulator, especially when installed over an insulated subfloor.
Perhaps the most impactful combination for thermal comfort is adding a thick rug and pad over an existing hardwood floor. The carpet and pad can add an R-value of R-1 to R-2, creating a significant thermal break from a cold floor or an unconditioned space below. This simple, non-permanent addition can drastically increase the surface temperature of the floor, directly improving your Mean Radiant Temperature and overall feeling of warmth. When choosing flooring, look beyond just the appearance and consider its entire lifecycle and its contribution to your home as a complete thermal system.
Frequently Asked Questions on Thermal Comfort in Older Homes
What is the ideal indoor relative humidity range for winter in older homes?
Maintain indoor relative humidity between 30-50% during winter to prevent mold growth while ensuring thermal comfort. Use a digital hygrometer to monitor levels continuously.
How long should I run bathroom exhaust fans after showering?
Run the exhaust fan for 20-30 minutes after every shower or cooking session to ensure moisture is fully expelled before it can spread throughout the home.
What are Air Changes per Hour (ACH) and why do they matter?
ACH measures how many times the air in your home is completely replaced per hour. As you seal your home tighter, you need mechanical ventilation to maintain healthy ACH levels and prevent stale, moisture-laden air buildup.